|
If you have been following my blog, you know by now that my husband and I love Mexican food! But a lot of the time Mexican food is secretly packing more calories than you think. Anything that you can substitute helps and I have come up with the perfect healthy alternative to Chicken Enchiladas! Replace cream of chicken soup with homemade soup and replace the tortilla with cabbage. I have been thinking up this recipe for months and I finally just had to make it. And I am so glad I did! It is amazing and packed with tons of flavor. :)

This recipe takes an hour to make and it helps if you have another person help you. My husband makes a great helper if I literally walk him through every step... haha but he is a good sport!
So you are going to have four things going: rice, homemade creamy soup, cabbage, and the chicken mixture! I know it sounds like a lot but each of the steps are pretty easy.
1. Start your rice. I never buy minute rice so with my rice cooker it takes about 30 minutes to cook white rice and about 40 minutes to cook brown rice. So start the rice accordingly. I used white rice so I started it first and let it do its thing while I worked on the other three parts and it was perfect timing. I cooked 1 cup uncooked rice and when it was done cooking I used about 1.25 cups of cooked rice.

2. Homemade cream of whatever soup! haha you can use this base to be any "cream of" soup...chicken, mushroom, celery...etc. The reason I am making my own is that I can not stand the canned stuff. Have you ever looked at the nutritional facts on those????!??? HOLY SODIUM! 31% DV and that was even with the reduced sodium can....that is disgusting!!! Not even to mention all the other preservative crap. ewww. Okay sorry about my rant, so on to the soup!

Ingredients:
2 tbsp. unsalted butter
3 tbsp. flour
1/2 cup low-fat milk
1/2 cup fat free, low sodium chicken broth
1/4 tsp. pepper
1/4 tsp. paprika
Instructions:
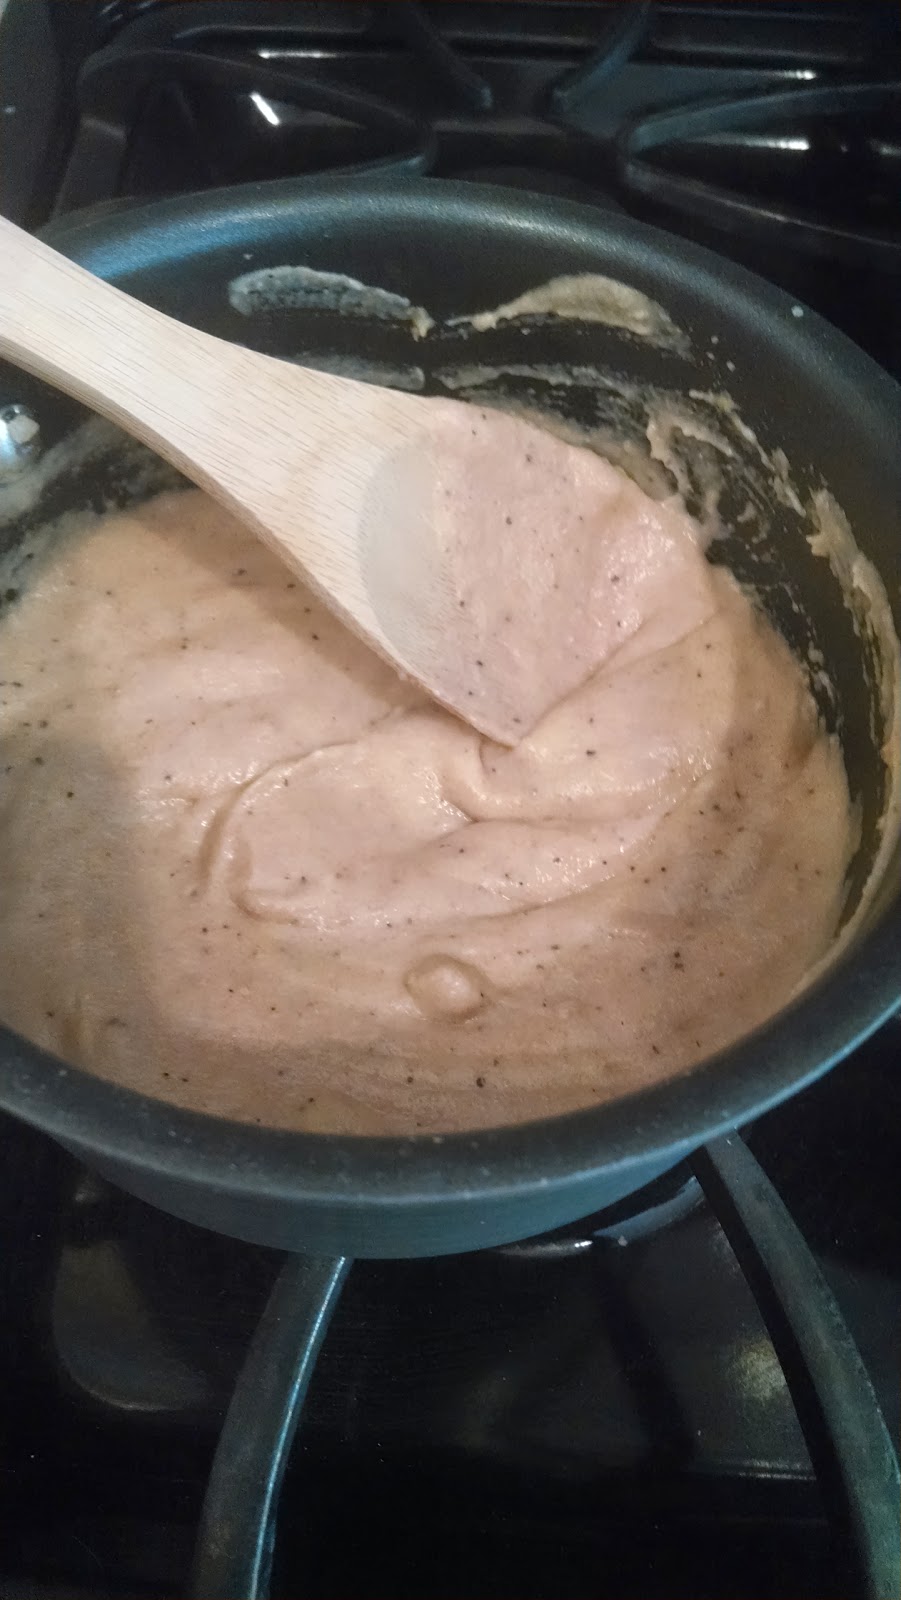
Melt the butter over medium-low heat. After the butter has melted add the flour and whisk well for 1 minute.
Slowly add the milk and chicken broth and whisk until it begins to thicken, about 2-4 minutes. Season with the pepper and paprika!
The batch made 8 ounces of soup. A regular can of cream of chicken soup is 10.75 ounces so its pretty close and doesn't make a difference.
3. The cabbage! There are two important things you need to do with the cabbage before you can use it as your shell. You need to de-core it and boil it to make it soft and to help remove the leaves from the head.
Instructions:
Start a large pot of boiling water. While you are waiting for the water to boil you need to de-core the cabbage.
With a thin knife, cut around the core in a square. As you cut further down, have all four sides meet at a point. Like an upside down square pyramid (haha yes that's my math side kicking in but honestly I don't know what other way to describe it)


You have just de-cored the cabbage so that none of the leaves are stuck to the head.
Place the head in the large pot of boiling water. Let it sit in the boiling water for 5 minutes.

The easiest way to take the head of cabbage out of the boiling water is to take some tongs and grab the head by placing one of the prongs in the space where the core was and the other prong on the outside of the head as far as you can.
After you have removed the cabbage you will notice that the leaves are bright green and the leaves come off very easily.

Now there is one more step to the cabbage. The leaves are warm and very flexible but if you tried to roll them up you would notice that it is hard to because of the stem that goes down the middle. All you have to do is slice the stem down a little bit.
To do this, make sure you are slicing off the stem on the side where it sticks out more. It is the side of the leaf that was facing outwards while on the head of cabbage.
Take a thin knife and slice down the stem and only remove the part that was sticking above the rest of the leaf. (See picture)

And there you go! Cabbage is done!
So all you have to do now is mix together the chicken mixture, stuff, and cook!

Chicken Enchiladas
Prep time: 40 minutes
Cook time: 20 minutes
Servings: makes 8 rolls or 4 people
Chicken Mixture Ingredients:
1.25 cups of cooked white rice
1.5 cups of cooked shredded chicken (remember my helpful hint of always using rotisserie chicken when you can, it saves so much time on cooking throughout the week)
1 can of sliced olives
1 cup shredded pepper jack cheese
8 ounces of our homemade "cream of" soup (or if you don't have time then the regular 10.75 ounces of cream of chicken soup is fine but just know how much sodium you are adding to your meal)
1/2 cup of enchilada sauce and then the rest of the can for the bottom of the skillet and on top!

Instructions:
Add the ingredients in a bowl and mix all together.


(the second picture is with the enchilada sauce)
Now take one of your cabbage leaves and place a nice heap of mixture on it.

Pinch the sides in and then roll.


Repeat with 8 leaves!
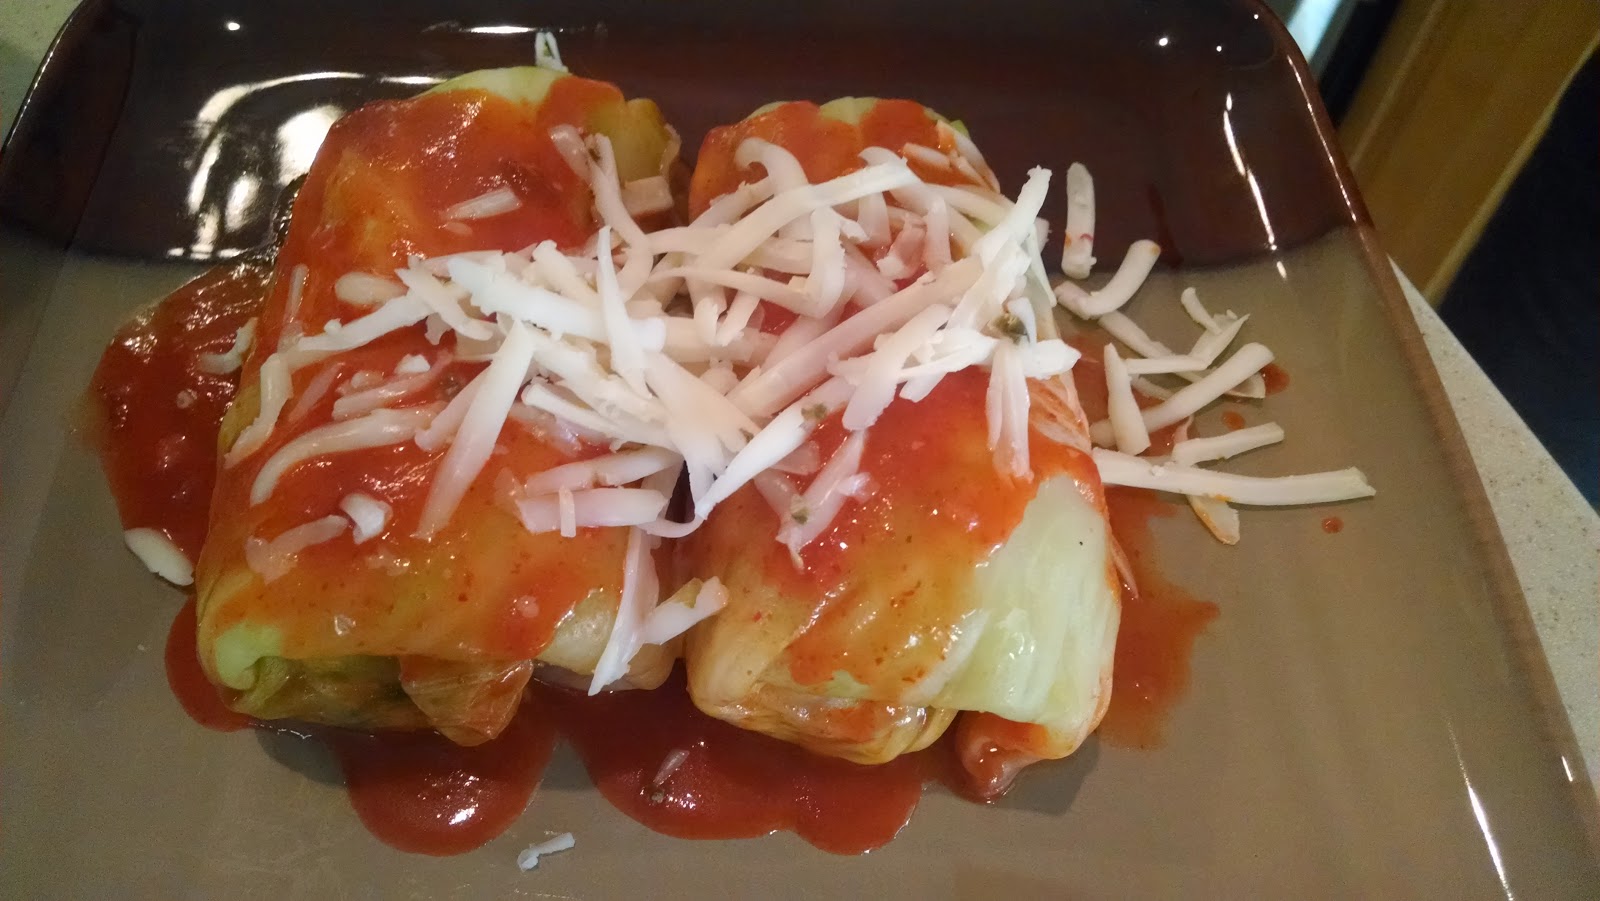
To finishing cooking the enchiladas, we are going to use a skillet. Heat to 250 degrees. Spread enchilada sauce to cover the entire bottom of your skillet an then place your 8 rolls of cabbage on top.

Top with a little bit more of enchilada sauce, cover and cook for 20 minutes.


This recipe takes an hour to make and it helps if you have another person help you. My husband makes a great helper if I literally walk him through every step... haha but he is a good sport!
So you are going to have four things going: rice, homemade creamy soup, cabbage, and the chicken mixture! I know it sounds like a lot but each of the steps are pretty easy.
1. Start your rice. I never buy minute rice so with my rice cooker it takes about 30 minutes to cook white rice and about 40 minutes to cook brown rice. So start the rice accordingly. I used white rice so I started it first and let it do its thing while I worked on the other three parts and it was perfect timing. I cooked 1 cup uncooked rice and when it was done cooking I used about 1.25 cups of cooked rice.
2. Homemade cream of whatever soup! haha you can use this base to be any "cream of" soup...chicken, mushroom, celery...etc. The reason I am making my own is that I can not stand the canned stuff. Have you ever looked at the nutritional facts on those????!??? HOLY SODIUM! 31% DV and that was even with the reduced sodium can....that is disgusting!!! Not even to mention all the other preservative crap. ewww. Okay sorry about my rant, so on to the soup!
Ingredients:
2 tbsp. unsalted butter
3 tbsp. flour
1/2 cup low-fat milk
1/2 cup fat free, low sodium chicken broth
1/4 tsp. pepper
1/4 tsp. paprika
Instructions:
Melt the butter over medium-low heat. After the butter has melted add the flour and whisk well for 1 minute.
Slowly add the milk and chicken broth and whisk until it begins to thicken, about 2-4 minutes. Season with the pepper and paprika!
The batch made 8 ounces of soup. A regular can of cream of chicken soup is 10.75 ounces so its pretty close and doesn't make a difference.
3. The cabbage! There are two important things you need to do with the cabbage before you can use it as your shell. You need to de-core it and boil it to make it soft and to help remove the leaves from the head.
Instructions:
Start a large pot of boiling water. While you are waiting for the water to boil you need to de-core the cabbage.
With a thin knife, cut around the core in a square. As you cut further down, have all four sides meet at a point. Like an upside down square pyramid (haha yes that's my math side kicking in but honestly I don't know what other way to describe it)
You have just de-cored the cabbage so that none of the leaves are stuck to the head.
Place the head in the large pot of boiling water. Let it sit in the boiling water for 5 minutes.
The easiest way to take the head of cabbage out of the boiling water is to take some tongs and grab the head by placing one of the prongs in the space where the core was and the other prong on the outside of the head as far as you can.
After you have removed the cabbage you will notice that the leaves are bright green and the leaves come off very easily.
Now there is one more step to the cabbage. The leaves are warm and very flexible but if you tried to roll them up you would notice that it is hard to because of the stem that goes down the middle. All you have to do is slice the stem down a little bit.
To do this, make sure you are slicing off the stem on the side where it sticks out more. It is the side of the leaf that was facing outwards while on the head of cabbage.
Take a thin knife and slice down the stem and only remove the part that was sticking above the rest of the leaf. (See picture)
And there you go! Cabbage is done!
So all you have to do now is mix together the chicken mixture, stuff, and cook!
Chicken Enchiladas
Prep time: 40 minutes
Cook time: 20 minutes
Servings: makes 8 rolls or 4 people
Chicken Mixture Ingredients:
1.25 cups of cooked white rice
1.5 cups of cooked shredded chicken (remember my helpful hint of always using rotisserie chicken when you can, it saves so much time on cooking throughout the week)
1 can of sliced olives
1 cup shredded pepper jack cheese
8 ounces of our homemade "cream of" soup (or if you don't have time then the regular 10.75 ounces of cream of chicken soup is fine but just know how much sodium you are adding to your meal)
1/2 cup of enchilada sauce and then the rest of the can for the bottom of the skillet and on top!

Instructions:
Add the ingredients in a bowl and mix all together.
(the second picture is with the enchilada sauce)
Now take one of your cabbage leaves and place a nice heap of mixture on it.
Pinch the sides in and then roll.
Repeat with 8 leaves!
To finishing cooking the enchiladas, we are going to use a skillet. Heat to 250 degrees. Spread enchilada sauce to cover the entire bottom of your skillet an then place your 8 rolls of cabbage on top.
Top with a little bit more of enchilada sauce, cover and cook for 20 minutes.